Creating Pumpkin scene
- Charlotte Peterson
- Nov 3, 2021
- 5 min read

I started this scene soon after finishing maternity leave and needing something to stay occupied until some work came along. Blender made quite a few changes since I last used it over a year ago so it was a good scene to get back into a process. I am always inspired by the autumn season and this seemed like the perfect place to start.
The Inspiration

I usually like to work from an image so I did a quick web search and came across this image by Alexander Raths I loved the colours, the composition, and simplicity of the image. I can also see several challenges including creating candles, a carved pumpkin, alpha maps, and of course a bit of UV mapping required. So I started with the carved pumpkin.
The Process
Modeling
So the main thing was how do I make a pumpkin in Blender and then give it a carved face?. Like anyone else, I started with a tutorial. Simple sphere with some adjustments and then using a modifier to get the carved face look. This made it making the rest of the pumpkins easier as they all followed the same basic process with some changes in each one so they each have their own unique look and feel.

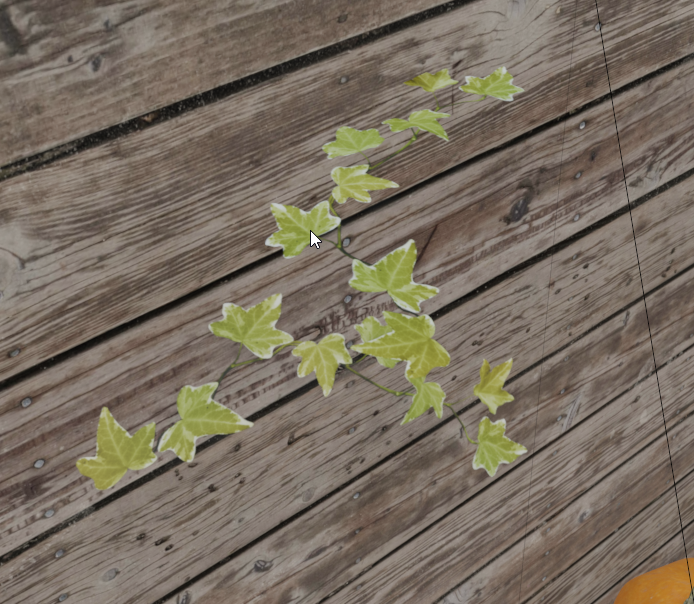
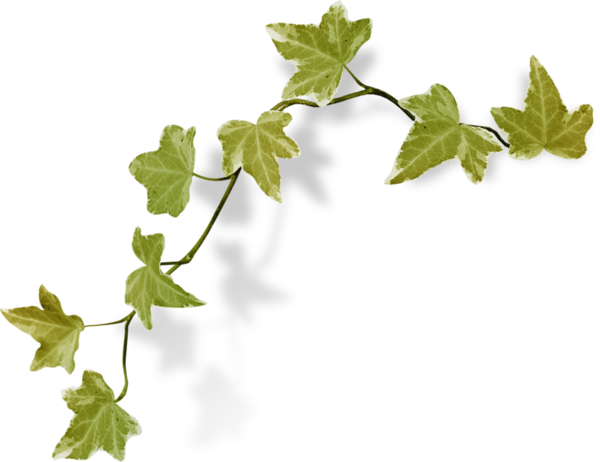
The lantern and tealights were easy enough to create using basic shapes. The next big challenge was the leaves. Now I could have modeled by hand each one but that is very time-consuming so I decided the best way was to go down the alpha map route.
I decided on the maple leaf as it is often associated with autumn as it is classically red. I did start modeling the leaf individually but about halfway through I had a change so I kept the basic shape I started with and projected the texture onto that.


I created 3 different leaves to use in the scene each with a slightly different colour, size, and shape, which were then placed into the scene.
Lighting
I like to set up the lights before I start texturing then tweak as I go. This helps me see how the textures work in the light and then I can easily adjust the lights to fit the look.
First I wanted to get the shadows of the leaves on the back wall. Again this needed some alpha mapping and tweaking of shadows to get this effect. I used sunlight with a slightly yellow colour and made it a little weak to give the feel of a setting sun.


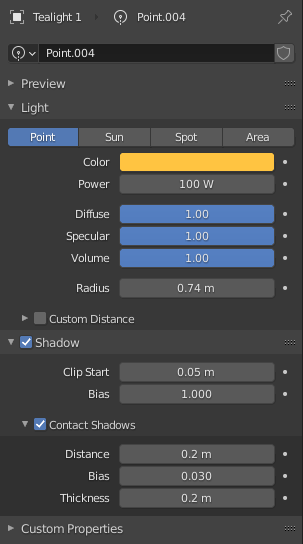
The next item to focus on was the candles. These would obviously be another source of light and shadow. I decided to use point lights and give it an orange colour and have it cast shadows. I wanted to go the extra mile and have it feel like realistic candle lighting as candlelight tends to be weaker than artificial lighting. I did some research to find out what a typical candle luminosity strength is in watts. The reason is that Blender lights work in watts (turns out it is 80 watts per candle). This didn't really give me the light I wanted so took some creative licensing and I increased the light power to 100W


Texturing
I knew I was going to have issues finding good pumpkin textures as there doesn't seem to be much around. I had a plan in my head to make adjustments to colour and look so the pumpkins don't all look the same. So it was time to fire up photoshop.
Scene
I already placed the scene texture so I could see how the lights and shadows would be reacting to it. I already had plenty of wooden floorboards in my library so it was very quick and easy to set up.
Lantern and Candles
The lantern didn't take too long to set up as I managed to find some decent textures from www.textures.com and finding a good glass set up online was easy. It did take some time to set up the candle flame as that is partially transparent and obviously gives off a bit of a glow as well. I came across a tutorial on YouTube which really helped


The lantern itself was a simple metal texture with bump mapping with a glass texture for the windows.
Pumpkins
The real challenge was finding the appropriate textures for the pumpkins. I figured I would have to do some work in Photoshop and some UV mapping but I was looking for a base texture to work from and struggled to find the right base texture. And as pumpkins come in different colours I wanted a variety of textures to use.
I managed to find some images on the internet from various sources including Texture.com. I also needed to convert these textures to get bump mapping and roughness.
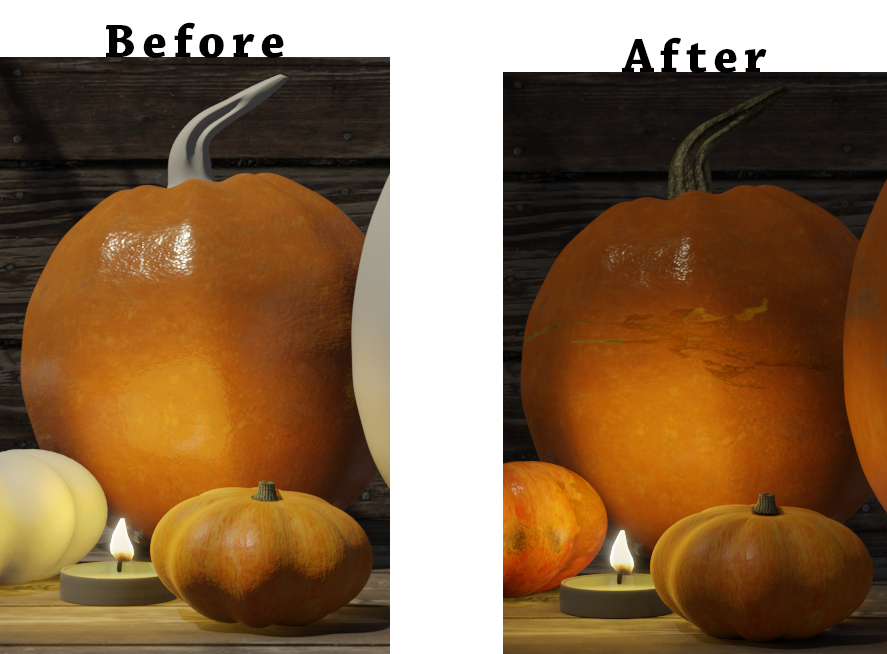
For most of the pumpkins, I did a simple sphere UV Mapping and got the desired effect quickly. But did take some time to get the roughness correct as they started to look plastic or super shiny. In the first round of texturing all the pumpkins looked similar so I needed to add some unique elements as different scratches and adjust the colours slightly for each one.

The next issue was to tackle the stem. After a bit of searching, I found a texture map by RXDesign and a very interesting blog post on how he made a realistic 3D pumpkin, and was worth the read.
Finally, it comes to the carved pumpkin. This would definitely need to be UV mapped. I also needed to work out how the insides would look like. I am not great at UV mapping so this was going to be a challenge to do.

I did have to re-do this map about 3 times as I kept seeing mistakes in the map and just not looking right. Eventually got there in the end to get some pretty decent.

Adjustments
As I progressed with the texturing I made adjustments to the scene. I changed the brightness of the scene, in general, to help bring out the candle lights better and to give it a more eerie feel. The stalks were also starting to look identical so I made a couple of different colour to give more variety to the scene.
I felt the scene was looking a bit bare in places so I added an extra leaf towards the front. Made adjustments to shadows and added a light to inside the pumpkin. I also played around with the focus.
The Result

Challenges:
- Remembering how Blender worked after a year off
- Roughness right on pumpkin skins
- Carved pumpkin mapping inside of the mouth and eyes
Improvements
As always I look for improvements to my skills and I always want to go back to a scene and make changes.
- One suggestion from my husband is to cut out the lid and have it at an angle
- Thicker skin on the carved pumpkin
- Get better at texture mapping
- Since nodes were introduced to Blender there isn't always the need to go into photoshop and make changes but some changes can be made within Blender
- Get regular feedback
- Small adjustments work
And that's just an overview of this little project of mine and lots of things learned as well as things I need to learn and improve on. Hopefully, my next project will be just as interesting.
Feel free to follow me on social media or contact me to discuss your project
Follow me on Twitter
Connect with me on LinkedIn


Comments